
Managing a Membership from a Patient's Chart
In SigmaMD, managing memberships directly from a patient’s chart is a seamless process. Here’s how you can navigate through the different membership statuses and make necessary adjustments:
First, access the Payments section of the chart from the left menu or select Payments when searching for the patient on the Command Center.


Membership Status and Available Options
Locate the Memberships section below the patient's demographics:

All membership plans the patient is or has been enrolled in will be listed. These are the possible statuses and actions:
- Pending
- View details
- Cancel plan
- Deferred
- View details
- Cancel plan
- Active
- View details
- Pause plan
- Cancel plan
- Paused
- View details
- Resume plan
- Cancel plan
- Inactive
- View details
- Archive plan
- Archived
- Archived memberships are permanently stored and cannot be edited or reactivated.
Viewing and Editing Membership Details
To view and edit a membership, click on "View details."
This will open a detailed view of the plan where you can edit most of its settings, like giving a discount, modifying the billing cycle, changing the payer and/or payment method, etc.

Pausing a Membership
To pause a membership:
- On an active plan, click the three dots and select "Pause plan".
- Specify the duration the membership will be paused (in cycles). I.e., to pause a monthly membership for four months, enter 4 cycles.
- You can resume the membership at any time by selecting the "Resume plan" option.

Canceling a Membership
To cancel a membership, click the three dots and select "Cancel plan". This will open the Cancel Membership screen, where three options will be available:
- Match cycle end date: This option synchronizes the cancellation date with the end of the patient's selected membership billing cycle.
- Choose date: Here, you determine the last active day of the patient's membership. The cancellation will happen the day after the date you've chosen.
- Effective immediately: As the title suggests, this option allows you to cancel the membership immediately.

- After you have chosen your option, select the Continue button at the bottom of the Cancel Membership screen.
- Choosing a Reason for the cancellation is optional, so the Continue button will remain enabled regardless of this field.
- This opens a Confirm Cancelation step. If the plan has a minimum commitment that hasn't been fully served, this step shows how the remaining cycles will be billed and lets you choose how to handle the final invoice (for example, charging only the prorated amount, only the full cycle amount, all remaining cycles, or a custom amount) before it's issued.
- Select Confirm to finish canceling the plan.
- Do not forget to review and manage outstanding membership invoices to make sure your patient's cancellation is seamless.
Canceling a membership will not delete the patient's chart or data. The patient will remain in the system, and all health records and chat history will still be accessible.
Stopping a Scheduled Cancellation
If a cancellation is scheduled but hasn't taken effect yet, the Memberships section shows a "Cancelation scheduled for [date]" notice with a Stop cancelation option next to it. Selecting it stops the scheduled cancelation and keeps the membership active. This option is available for retail and employer membership plans while the cancelation is still pending — once the final invoice for the cancelation has been charged, it can no longer be reverted.
Add or Remove Patients
To update a patient’s plan seat, add more patients to the plan, or remove patients :
-
In the membership details view, click on the pencil icon next to Plan Seats.
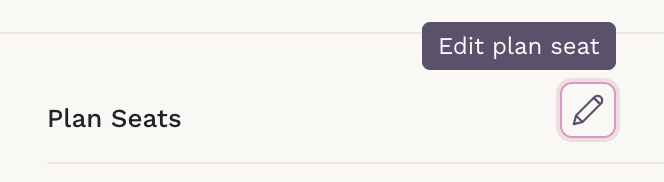
- Change patients and seats accordingly.
- Save your changes to update the membership.
Note on Membership and Patient Status
Membership statuses are distinct from patient statuses. A patient can be active without having an active membership plan. To change a patient’s status (active, inactive, deceased), click "View patient details" next to the patient’s preferred name.
By following these steps, you can effectively manage memberships from a member’s chart, ensuring all information is accurate and up-to-date while providing the best service to your members.