
Managing Insurance Plans in a Patient’s Profile
You can store and manage insurance plan details directly within a patient's chart in SigmaMD. This helps your clinic maintain accurate billing records and support efficient reimbursement workflows.
Adding a New Insurance Plan
1. Go to the Patient's Payments Tab
- From the patient chart, select the Payments section.
2. Open Health Insurance
- In the Health Insurance section, click the plus (+) icon to add a new plan.
- If no plan has been added yet, you’ll see the message: "No health insurance in patient’s profile."

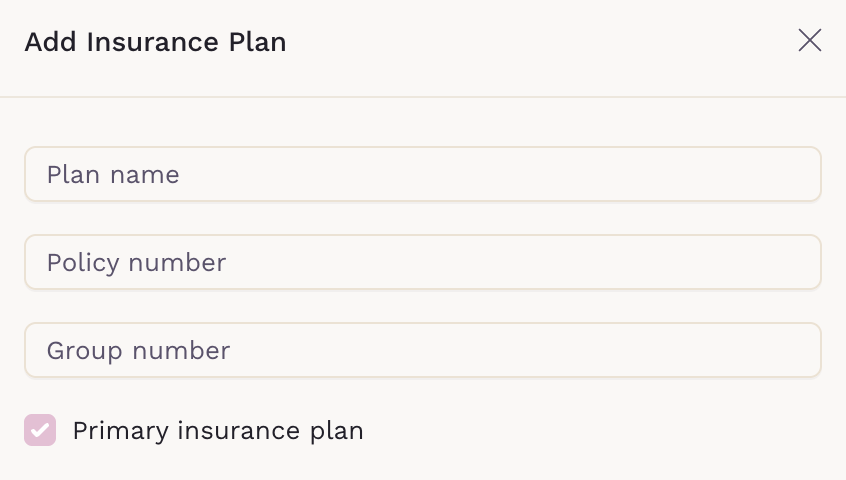
3. Fill in the Required Fields
- Plan Name: Enter the official name of the insurance plan the patient is enrolled in. Examples: Aetna Silver 3000 PPO, Blue Cross Blue Shield PPO, Cigna Open Access Plus, Medicare.
- Policy Number: Add the patient’s unique member ID or subscriber number. This number identifies the individual under the insurance plan and is required for claims or covered service orders. You’ll usually find it next to “Member ID,” “Policy #,” or “Subscriber ID” on the insurance card.
- For Medicare, use the patient's Medicare Beneficiary Identifier (MBI) as the Policy Number.
- Group Number: Enter the identifier that links the plan to the employer or organization providing coverage. It helps determine which benefits and rates apply under that group plan. If a group number isn’t available, use the insurance name instead. For Medicare, enter “Medicare A/B.
- For Medicare, the card does not include a group number. Enter N/A or use the same value as the Policy Number.
-
Primary Insurance Plan (checked by default)
-
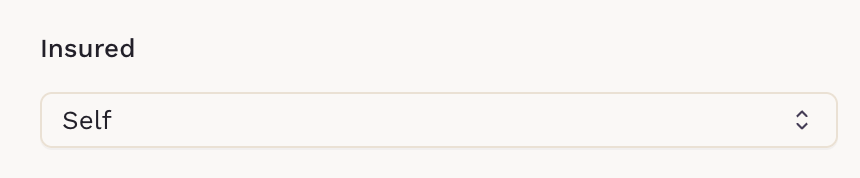
Insured: Choose whether the insured is the patient or someone else
-
Claims Address: Street, City, State, ZIP. When typing the insurance company’s claims address, suggestions appear based on standard U.S. addresses. If the address is a P.O. Box or not listed, you can type it freely — it will appear as the last option in the dropdown list.
For Medicare, the card does not include a claims address. Use the claims mailing address for the Medicare Administrative Contractor (MAC) in your region. You can search "Medicare claims address" followed by your state to find the correct one.
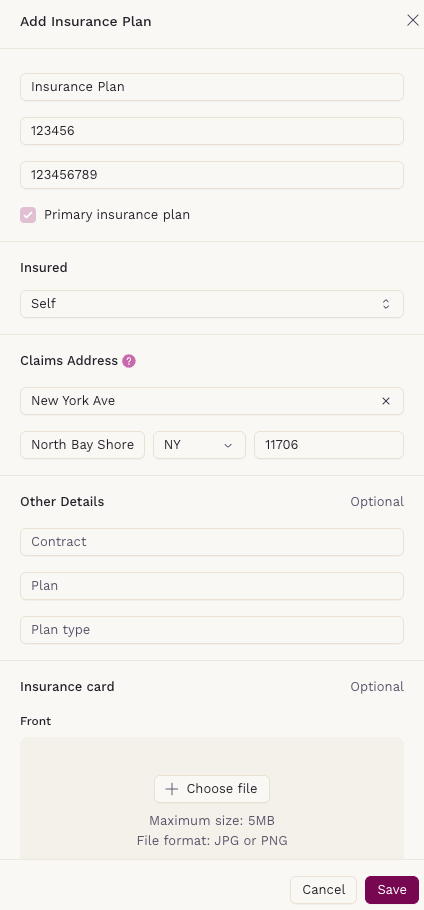


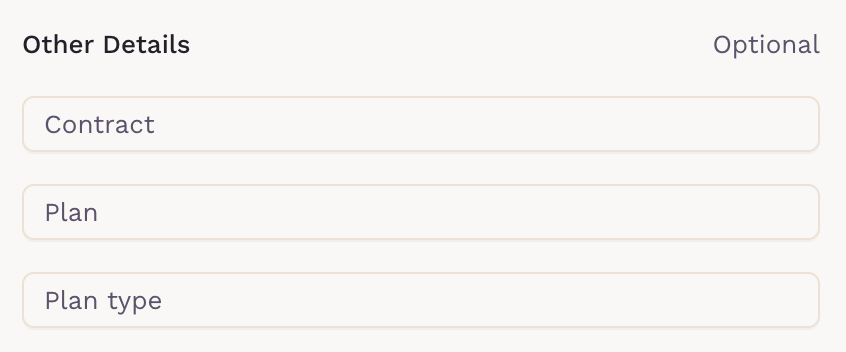
4. (Optional) Add Additional Details
- Contract Number
- Plan
-
Plan Type

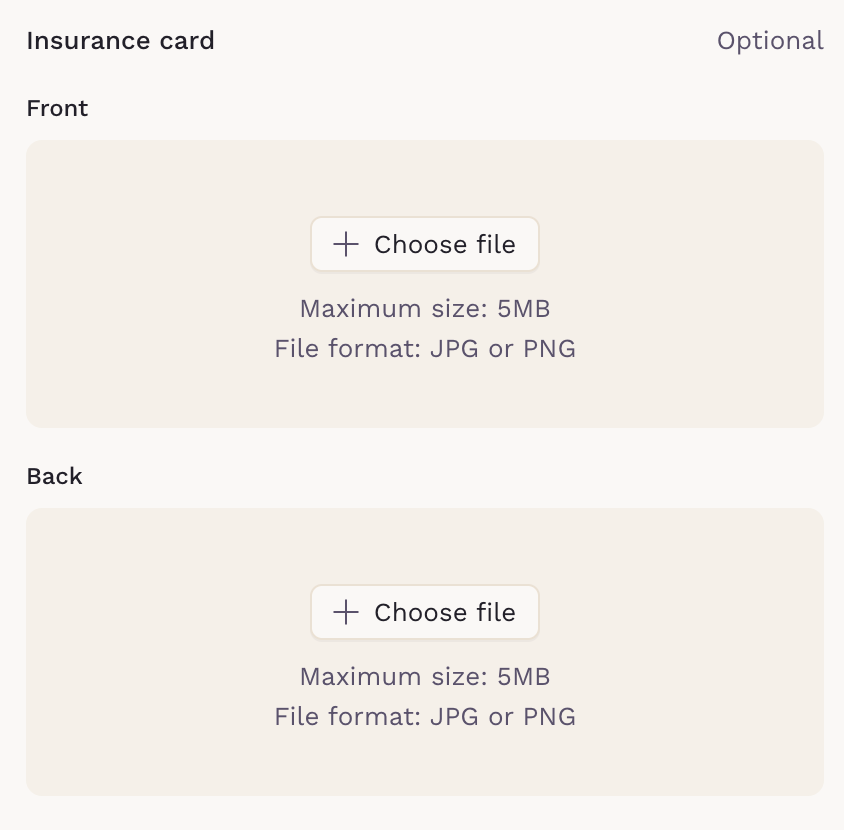
5. (Optional) Upload Insurance Card Images
-
Attach front and back images of the insurance card (JPG or PNG, max 5MB each).

6. Click Save
- The insurance plan will be saved to the patient’s profile.
- If this is the first plan, it will automatically be marked as their Preferred.

Editing or Removing an Insurance Plan
To Edit an Insurance Plan:
- Click the pencil icon next to the insurance entry.
- Make the necessary updates.
- Click Save to apply the changes.

To Delete an Insurance Plan:
- Click Delete insurance plan.
- Confirm the action when prompted.

Important Notes:
- An insurance plan must not be marked as "Preferred" in order to delete it.
- Patients must have more than one insurance plan on file to delete any.
- You cannot delete plans that are tied to finalized invoices.
If you have any questions or need assistance, please contact the SigmaMD support team.