
Adding a Fax to the Patient's Files
When receiving a fax, you can save it directly to a patient’s file. This ensures important documents stay organized and easily accessible within the patient’s drive.
Save a Fax to a Patient’s Drive
- From the fax screen, choose the patient you want to assign the fax to.
- Select Save to files.
- Select the folder where the fax should be stored.
- By default, the system saves faxes to the Fax folder inside the patient’s drive.

- You may select a different folder if needed.

Locate the Saved Fax
- Open the patient’s Files.

- Locate the folder where you saved the fax (for example, the Fax folder).
- Click on Open folder.

- The fax file will appear inside this folder.

Saving faxes to the default Fax folder helps you quickly locate them later, but you can always organize them in any other folder within the patient’s drive to match your workflow.
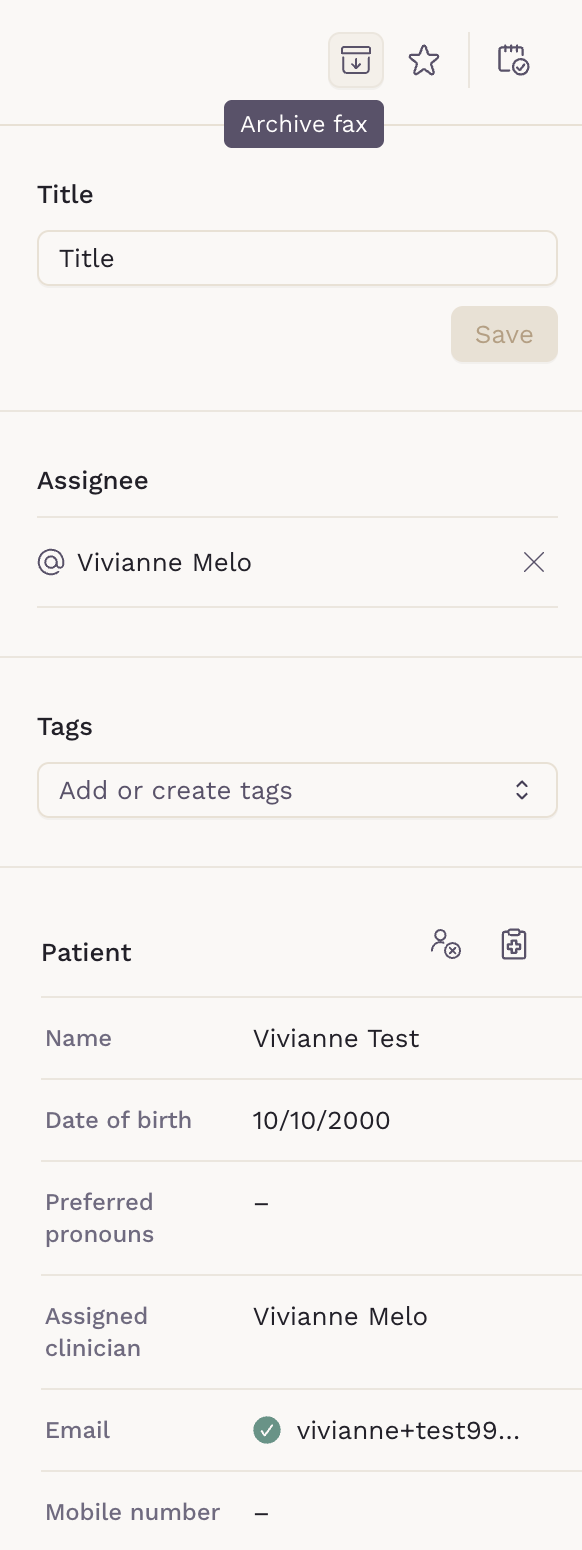
Archive a Fax
- From the fax screen, select the fax you want to archive.
-
Click the Archive fax button.
- Check the successful message.


Locate the Archived Fax
To locate archived Faxes, use the filters tab on the page.
- From the fax screen, click the filter icon.
- Select the Show archived faxes toggle.
- Click Save.

Removing a Patient Assigned to a Fax
You can remove the assignment if you have assigned a patient to a Fax by mistake.
- From the fax screen, click on the Remove patient button.

- Select to Confirm.

- Verify the success message.

It is not possible to remove a patient from the Faxes assigned as Labs and Imaging Results.
These results are available in their respective folders in the patient chart.