
Adding Non-Inventory Items
Non-inventory items are products or services that are not tracked by stock, such as procedures, lab tests, or imaging studies.
These items can still be categorized and priced for billing and reporting without tracking quantities or expiration dates.
Working with multiple locations
First, if your practice has multiple locations, you’ll see a location selector in the header of the Charge Items page. This selector indicates which location’s inventory you’re currently viewing. Any category or charge item created while a specific location is selected will apply only to that location.
This helps keep pricing, reporting, and inventory rules accurate across sites. Switching the selector updates the list to show items configured for that location only.
Non-Inventory Table
Go to Billing → Charge Items and select the Non-inventory items tab at the top.
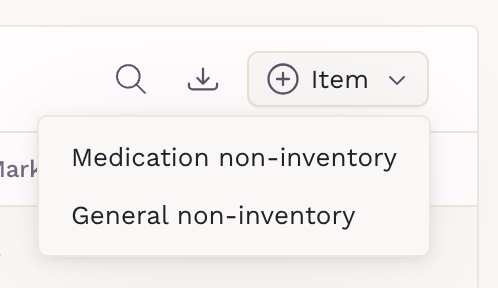
At the upper-right corner, click + Item, then choose one of the following:
- Medication non-inventory
-
General non-inventory

A panel will open on the right side with the corresponding item form.
Adding a Medication Non-Inventory Item
Fill in the item details:
- Medication: Type the medication name or Medi-Span code. If unit and strength are available, they will automatically populate.
- Name: This field is prefilled with the selected medication, but you can update it if needed.
- Category: Assign it to an existing medication category.
- Batch information: Add lot number, expiration date, package NDC, manufacturer, and supplier.
- Markup: Use the category’s markup, apply a percentage, fixed amount, or none.
- Sales tax profile: Inherit from category, apply a custom profile, or select none.
- Pricing: Enter the base price. The system will calculate the retail price for this item.

Click Save or Save and add more.
Adding a General Non-Inventory Item
Fill in the item details:
- Code system: Choose between SKU or CPT.
- Code: Enter a code. If SKU is selected, you can click the button to auto-generate a code.
- Item name: The name will be associated with all items with the same code.
- Category: Assign it to an existing general category.
- Batch information: Add lot number, expiration date, manufacturer, and supplier.
- Markup: Use the category’s markup, apply a percentage, fixed amount, or none.
- Sales tax profile: Inherit from category, apply a custom profile, or select none.
- Pricing: Enter the base price. The system will calculate the retail price for this item.

Click Save or Save and add more.
Adding Diagnostic Lab and Diagnostic Imaging Items
Diagnostic Lab and Imaging items follow a slightly different flow. These items are typically created inside a category that represents your lab or imaging provider (for example, Quest or LabCorp).
To add a diagnostic item:
- Go to Billing → Charge Items → Categories.
- Locate a category for your diagnostic provider.
-
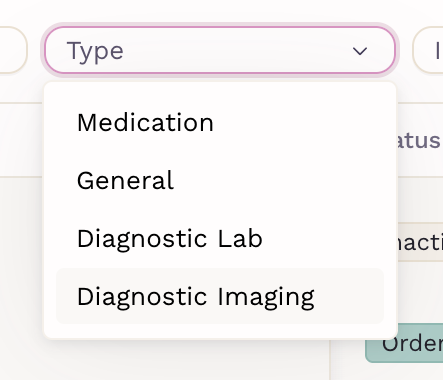
The category type should be Diagnostic Lab or Diagnostic Imaging.
-
-
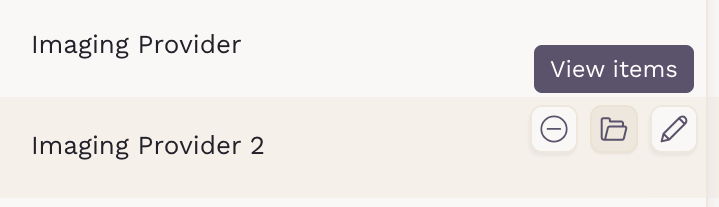
Click View items for that category. You’ll see a list of existing test codes.


-
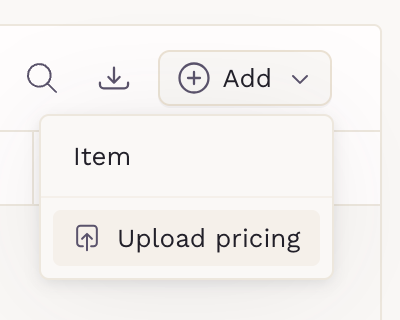
At the top right, click ➕ Add → Item. A side panel opens where you can enter test details.

Item Fields
- Code: search by name or code. Multiple codes can be added
- Test Code: optional reference identifiers.
- Name: Enter the name (e.g., Hemoglobin A1c or Chest X-ray)
- Markup: Use the category’s markup, apply a percentage, fixed amount, or none.
- Pricing: Enter the base price. The system will calculate the retail price for this item.

Click Save or Save and add more to continue adding test items under the same provider.
Upload Diagnostic Pricing
Instead of adding items one by one, you can upload pricing for Diagnostic Lab or Imaging categories in bulk using a CSV file.
To upload pricing:
- Open the desired diagnostic category.
-
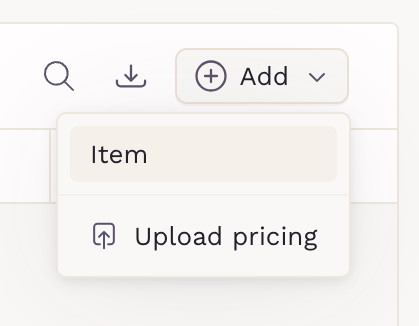
Click the Add button in the top-right corner and select Upload pricing.

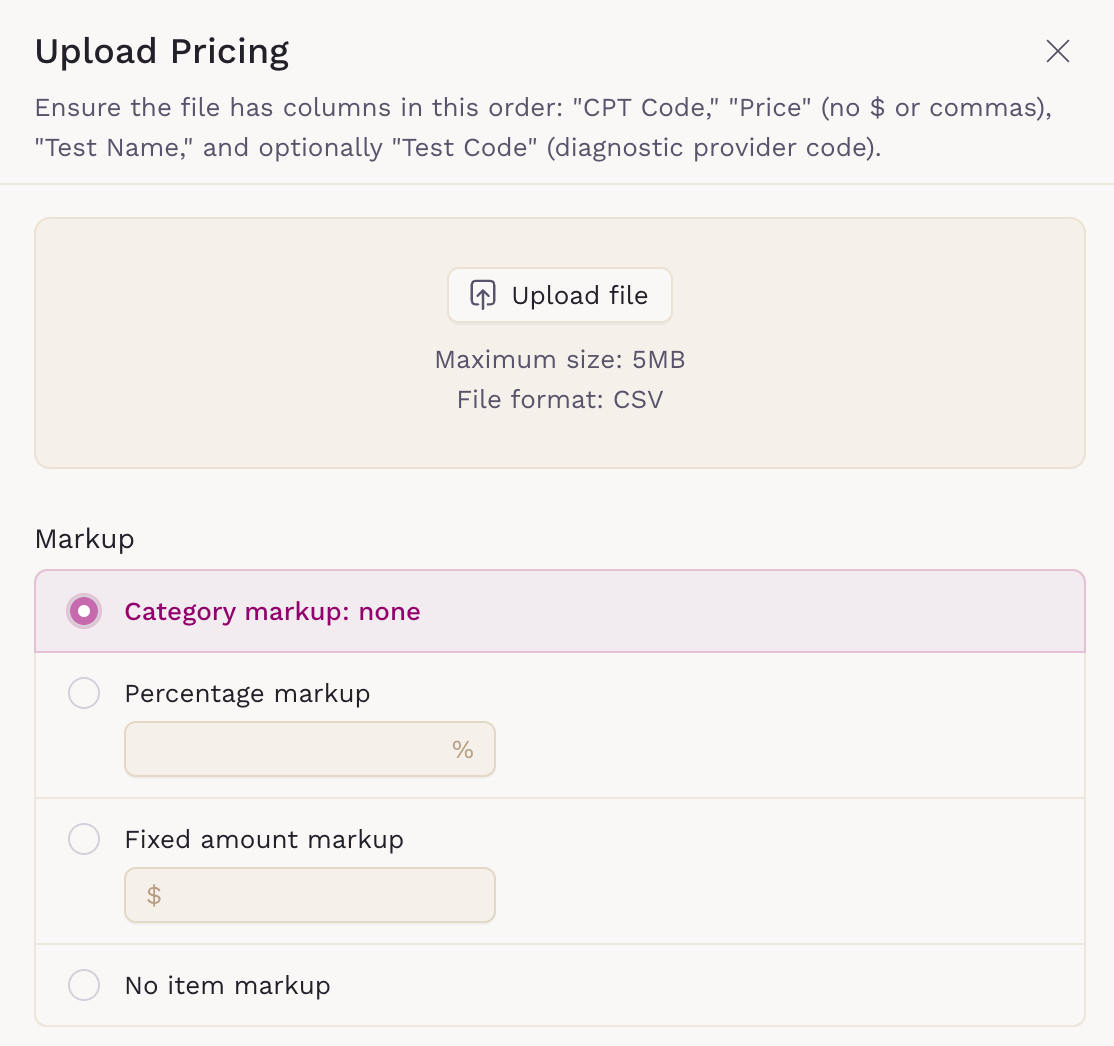
In the upload modal:
- Choose file: upload a .csv file (maximum 5 MB).
- Markup: choose from category, percentage, fixed, or no markup.
-
File requirements differ slightly between Diagnostic Lab and Diagnostic Imaging. While Diagnostic Lab requires Code and Price columns, Diagnostic Imaging requires CPT Code, Price, and Test Name columns.

After uploading, click Confirm to import pricing. SigmaMD automatically updates or creates items in the selected diagnostic category based on the codes in your file.
How Items Appear in the Table
After saving, all new non-inventory items appear under the Non-inventory items tab.
Each entry displays key details, including Code, Base Price and Markup.
