
Chat on the Clinician Mobile App
The Chat in your Clinician Mobile App enables secure, direct communication between patients and the care team. It supports real-time updates, shared documentation, and quick access to attachments, keeping all patient conversations organized in one place.
Accessing the Chat
From the main navigation, select Chat to open your inbox. The screen displays all active and past conversations with filters to help you find the right thread quickly.

Filtering Chats
Use the tabs to view All chats, With patients, or With team.

Use the Display option to view chats that are signed for you or unsigned.

Use the Filter option to identify chats with special tags:
- All — Shows all results, this is the default setting.
- Only starred — Shows chats marked as a star chat.
- Only urgent — Shows chats marked as urgent.
- Only unanswered — Shows chats that need to be answered.
- Only resolved — Shows chats marked as resolved.

Starting a New Chat
- From the Messaging screen, click on New Chat button.
- Select if it is a Patient chat or a Team chat.
- Search by name, birthdate, phone, or email.
- Select the patient to open the chat window.
- Type your message and tap Send to begin the conversation.
Chats started by the clinician appear immediately under the Inbox.
Resolving a Chat
Once a conversation is complete:
-
Tap on the three-dots icon in the chat header.

-
Tap on the check mark icon.
-
Confirm the action.
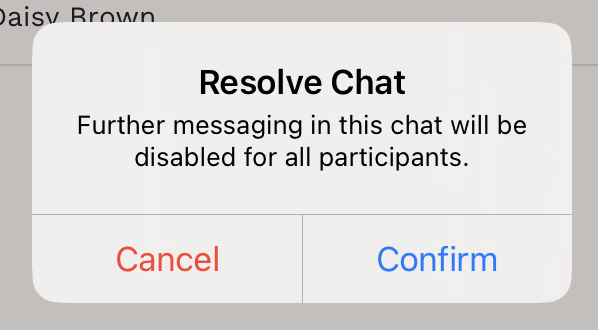


Resolved chats are closed to new messages but remain visible for reference.
Clinicians and patients can still view the chat history and encounter details.
Favorite a Chat
Once a conversation is complete:
- Click on the tree-dots in the chat header.
- Tap the Star icon on the top right of the screen.
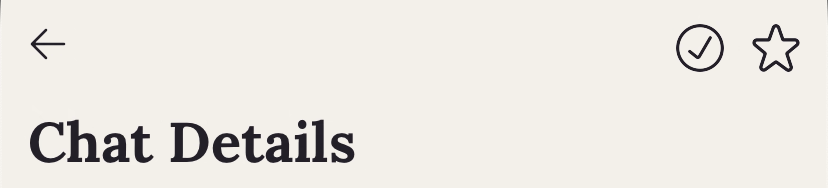
Chat Details
The Chat Details view gives you an overview of any patient conversation, including when it started, who’s involved, and any files shared within the chat. It’s designed to help clinicians manage and organize communication efficiently.

Three tabs help you navigate additional details:
- Info — Edit the chat title and assignee.
Title: Helps categorize or describe the topic of the chat. Chats started by a patient without a title appear as “Untitled” until a clinician adds one.
Assignee: Displays who is currently responsible for managing the chat. You can change the assignee from the dropdown menu to reassign the conversation to another team member.
- Participants — View everyone involved in the conversation.
All care team members can access patient chats through the mobile app for efficient communication.
- Attachments — Access any files shared in the chat.
All files sent to the patient are automatically saved to the Patient Files in Cygnus, in the default folder named ’Chat Attachments’.
Scheduling Messages in Chat
Scheduled Messages allow clinicians to prepare a message in advance and choose a specific date and time for it to be delivered. This helps you follow up with patients at the right moment without needing to be online or available when the message is sent.
Scheduling a Message
- Open the chat with the patient.
- Type your message.
- Tap and hold the Send button for 1s.
- Choose the desired date and time from the scheduling menu.
- Tap Schedule to save the scheduled message.

You’ll see a message in the chat showing that your message is scheduled.

Viewing Scheduled Messages
To review all upcoming scheduled messages for that conversation:
- Click on the Clock icon on top of the message input.
- Each message displays its content, delivery date and time, and any attached files.


Editing a Scheduled Message
You can adjust a scheduled message anytime before it is sent.
- Open Scheduled Messages and tap on the message you want to change.
- Tap on Edit Message to update the text, date, time, or attachments.
- Tap Save to apply the changes.
If you modify the send time, the updated schedule will appear immediately.


Stopping a Scheduled Message
You can stop a message from being sent at any time before it is sent.
- Open Scheduled Messages and tap on the message you want to change.
- Tap on Stop Sending.
- Tap Confirm to save your action.