Adding a Phlebotomy Fee
The phlebotomy fee allows you to charge patients for in-office lab draws. Once configured, the fee is applied consistently and can be adjusted at the order level when needed.
This article covers how to set up the fee and how it behaves during lab ordering.
Configure the Phlebotomy Fee
You can enable and define the phlebotomy fee in Billing Settings.
Steps
- Go to Billing → Settings
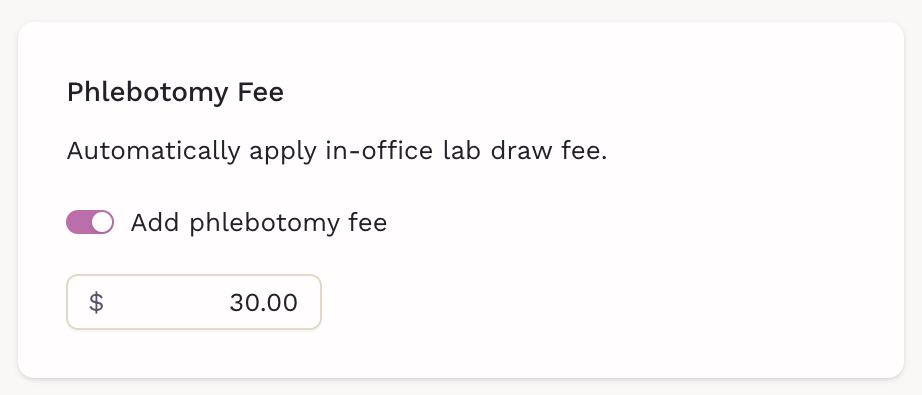
- Find the Phlebotomy Fee section
- Toggle Add phlebotomy fee on
-
Enter the fee amount

What this does
- The fee is automatically added to lab orders marked as In-office draw
- It applies consistently across your practice
How the Fee Works in Lab Orders
When creating a lab order, the phlebotomy fee is applied based on how the sample is collected.
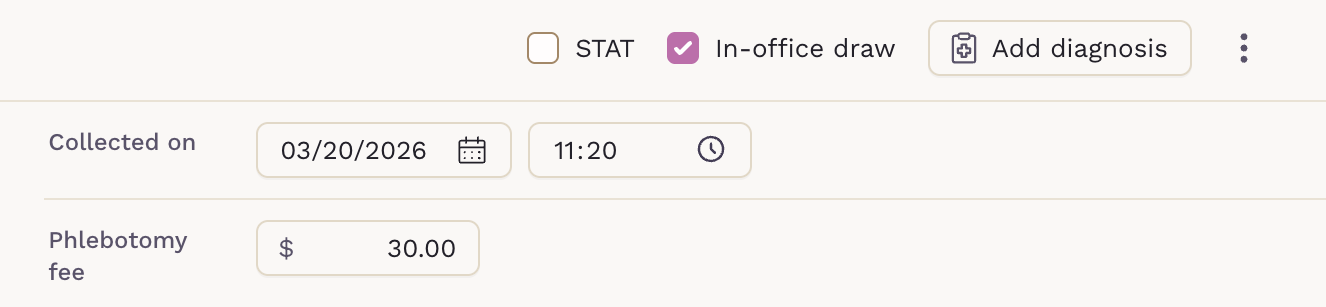
-
If In-office draw is enabled, the phlebotomy fee is automatically added, but can be edited
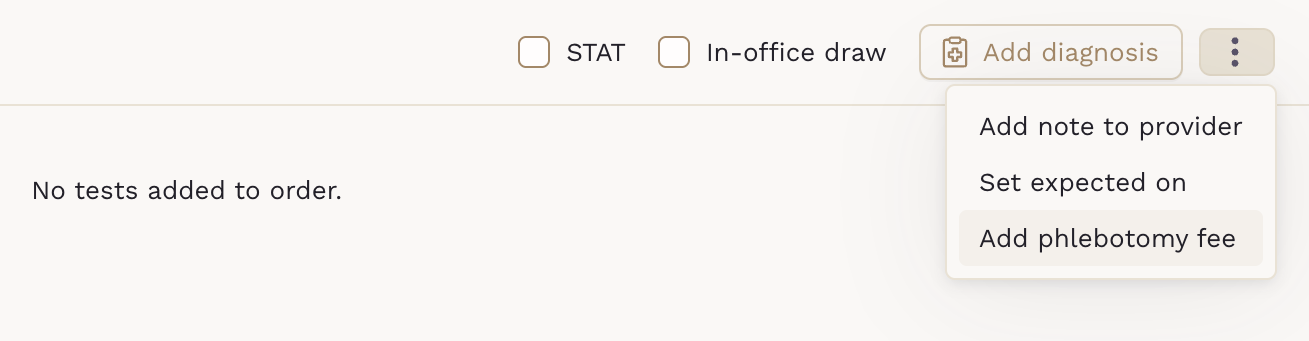
-
If In-office draw is disabled, the phlebotomy fee can be manually entered


Editing the Fee on an Order
You can adjust the fee at the time of ordering.
- The Phlebotomy fee field is editable
- You can override the default amount if needed
- Setting it to $0 removes the charge for that order
This is useful for:
- Courtesy draws
- Membership-inclusive services
- Special cases or adjustments
When to Use It
A phlebotomy fee works best when you perform frequent in-office lab draws, want consistent and transparent pricing, and need to reduce manual billing steps. It gives you control at both the system level and the individual order level, without adding complexity to your workflow.
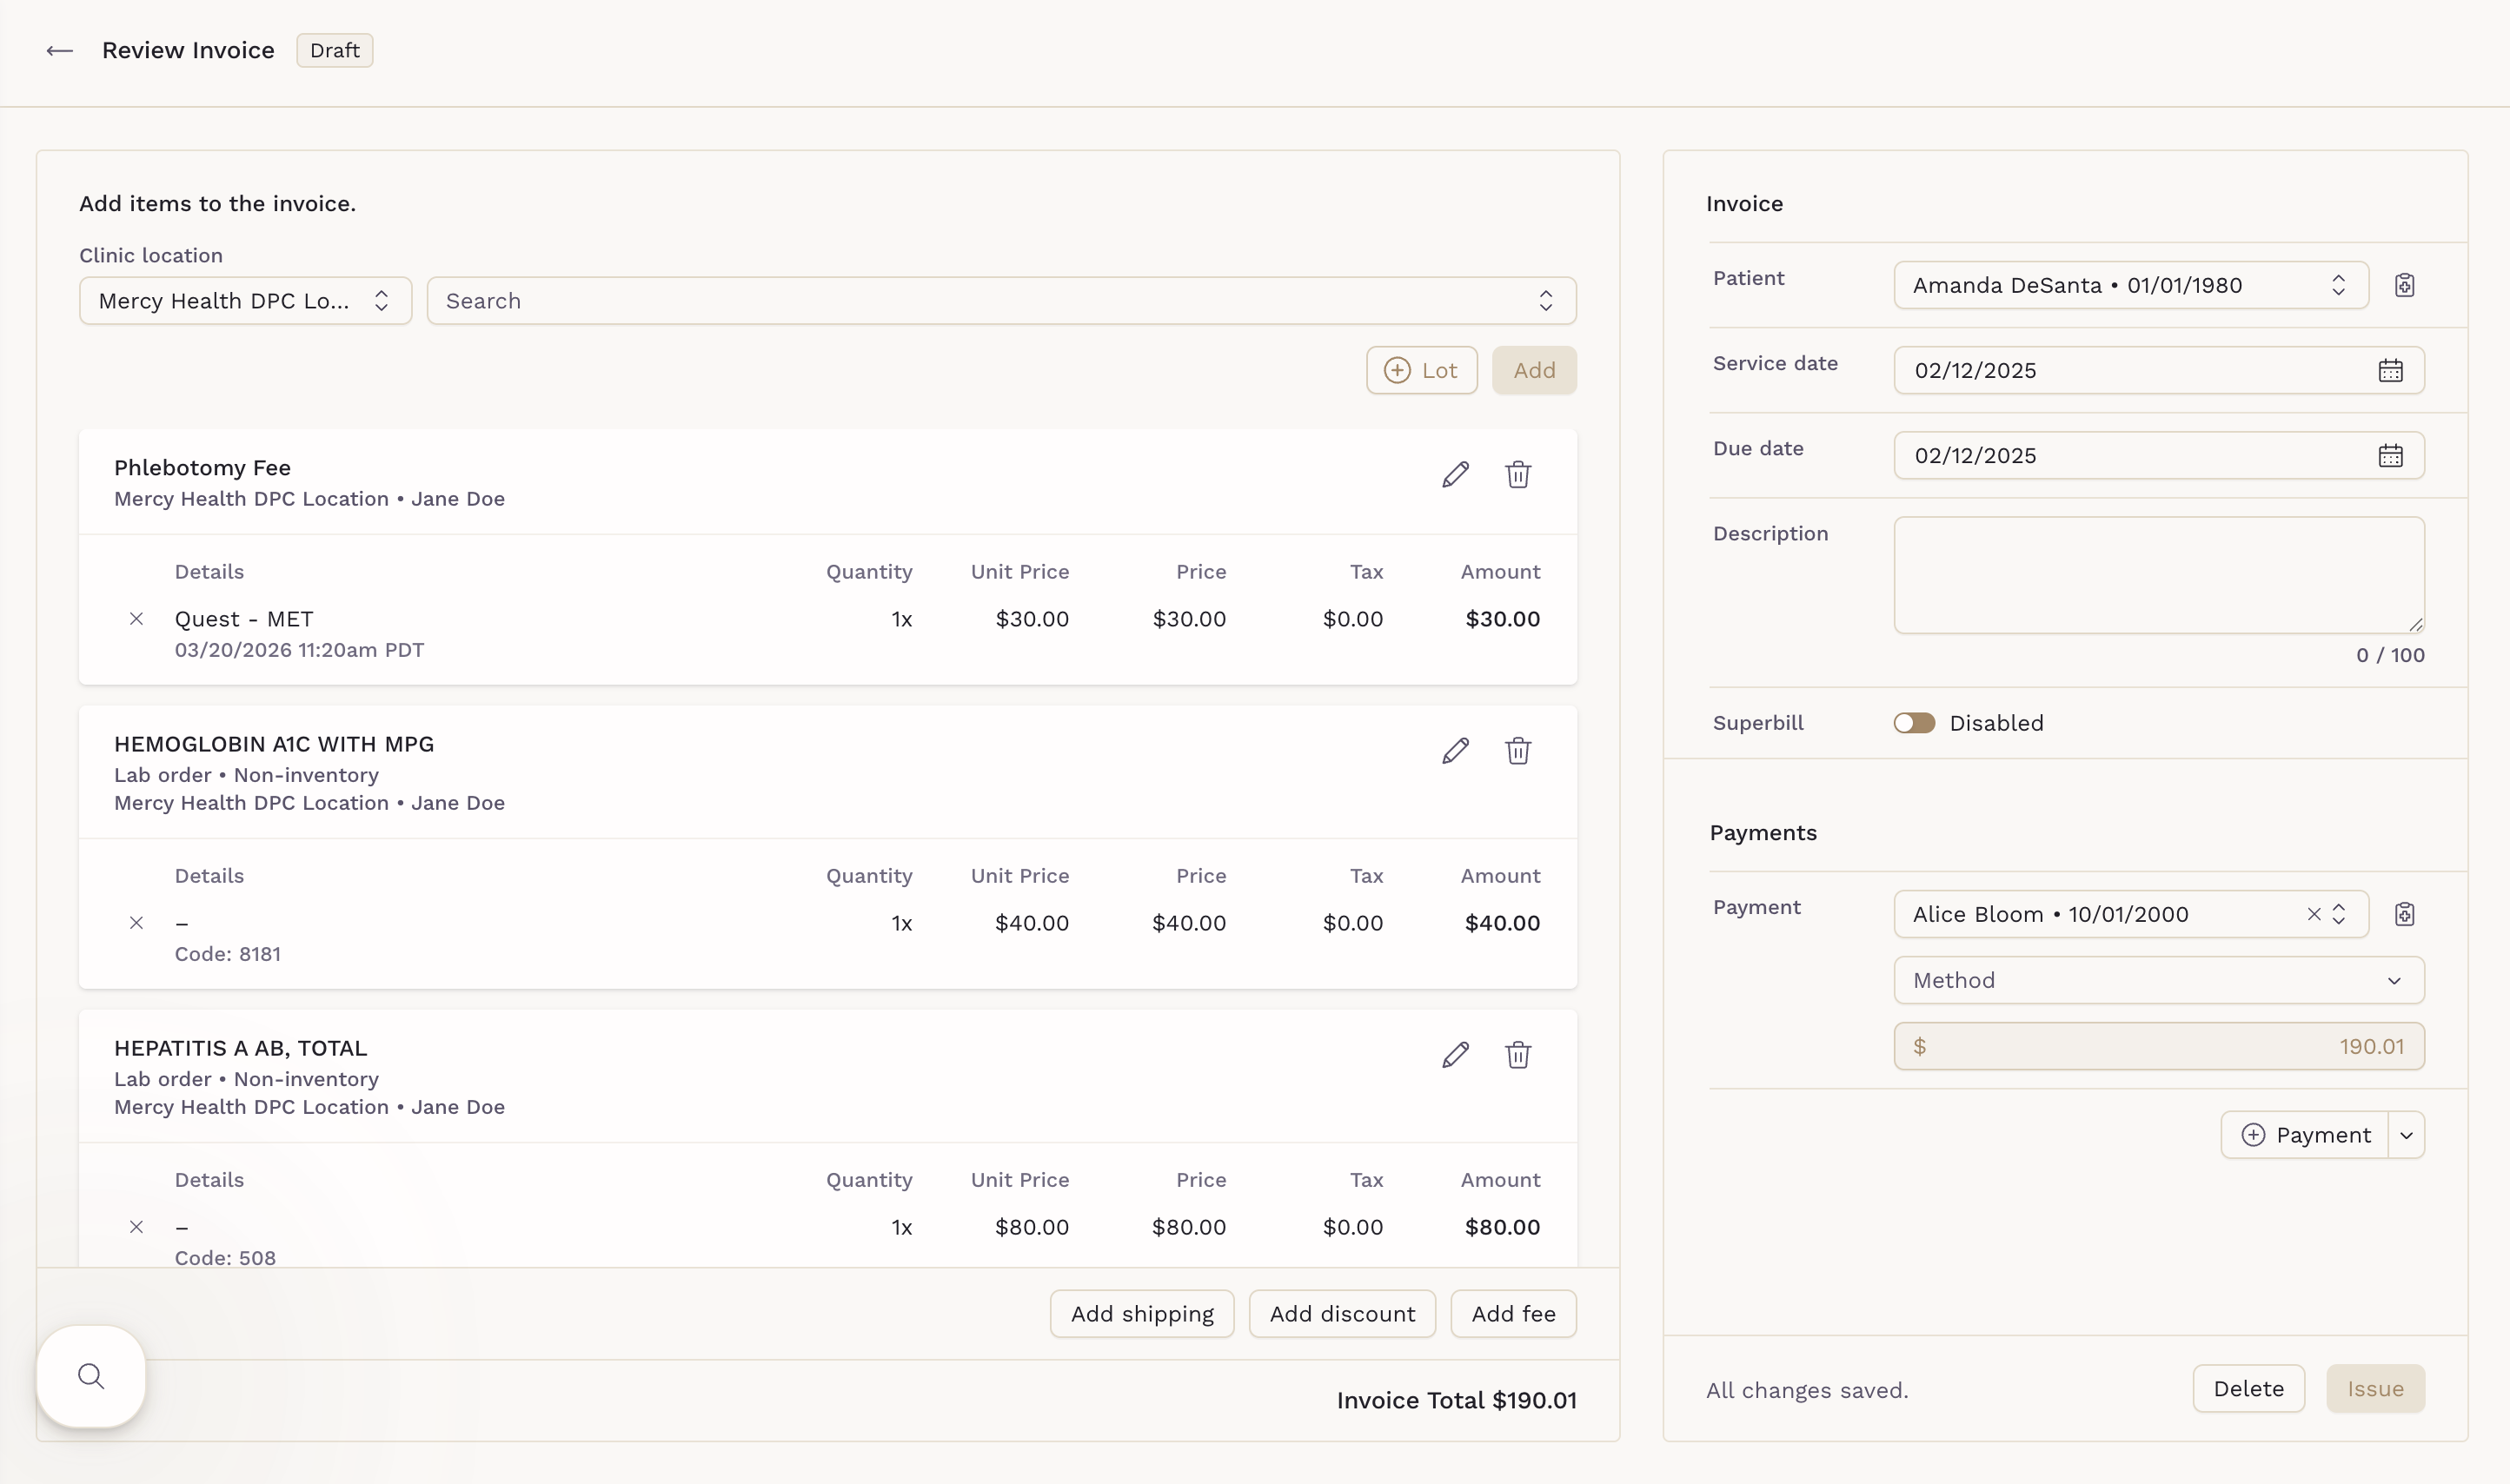
How the Fee Appears on Invoices
The phlebotomy fee is included in the patient’s invoice along with the lab charges. It is displayed as a separate line item, added to the total invoice amount, and follows the same billing flow as other charge items. This helps keep pricing clear and ensures patients can see exactly what they are being charged for.