
Prescribing Supplies: A Step-by-Step Guide
SigmaMD lets clinicians prescribe medical supplies directly from the prescribing workflow. You can select existing supplies or create a custom supply when the item isn't available in the search results.
Before you start
- Supplies can be prescribed through the standard prescription workflow.
- Custom supplies must be confirmed as not controlled substances.
- Controlled substance prescriptions are subject to additional prescribing restrictions.
Important: controlled substance signing limits
When signing prescriptions, avoid selecting multiple controlled substances in the same signing session if their combined days supply may exceed 90 days. DoseSpot evaluates the combined total of all controlled substance prescriptions signed together, rather than each prescription individually. If needed, send controlled substance prescriptions separately in different signing sessions.
Step 1: Start a new prescription
From the patient landing page, click Add prescription. This opens the prescribing workflow.

Step 2: Search for a supply
-
Select Supply
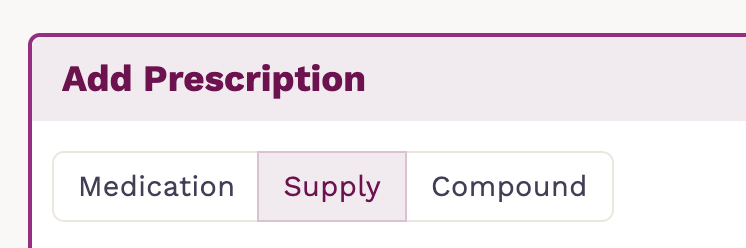
- In the search bar (second field), enter the name of the supply.
- Select the desired item from the search results or just click Next if you are free typing an item.
Step 3: Enter prescription details
After selecting the supply, complete the prescription information and fill out all required fields marked with a red asterisk (*). Depending on the supply, fields may include directions, dispense quantity, days supply, refills, pharmacy, and diagnosis codes. Review all information carefully before proceeding.
Step 4: Create the prescription
Once all required information is completed, click Save Prescription.
Step 5: Review and send
After creation, the supply appears under Pending Medications. Review the prescription details, then complete the signing and sending workflow.