
Efficient Clinical Documentation with Note Templates
Note templates help you quickly structure and document clinical encounters by inserting pre-written content into your notes. They work with Scribe, SigmaMD’s AI-powered assistant, to reduce repetitive typing, maintain consistency, and save time across patient visits.
Managing Your Notes Templates
To manage templates:
- Go to Practice Settings.
- Select Templates.
- From here, you can add, manage, duplicate, or delete your note templates and snippets.

Creating a New Template
Click Template to start a blank template. To start from a SigmaMD template or one shared by another clinic, click the arrow next to Template and select Library instead. Learn more in Sharing and Using Community Templates.
Use the text editor to create your content. Templates can include:
- Nested templates
- Variables
- Sign blockers {{!}}, which keep the note from being signed until you replace or remove them
You can format your content using bold, italics, underline, lists, and headings. Use the $ symbol to insert variables and / to embed other templates.
Templates are text only, so pasted images aren’t kept. Add images in the note after you apply the template.
Need help getting started? Click the Help me write pencil icon and enter a short prompt describing what you’d like. Scribe generates a draft of your template.

Under Details on the right panel, set your template type as Clinical note, then add status and name. The name you enter automatically creates the shortcut, which you’ll later use to quickly insert the template when writing a note. You can change the shortcut after saving, except on templates SigmaMD provides to all practices. Templates and snippets that embed it update automatically. If you rename a template while its shortcut still follows the old name, Name no longer matches. Use appears with a suggested shortcut.

Use template for Scribe notes is on by default for new note templates and makes the template available when generating AI-assisted notes. Scribe then follows your preferred structure and content style each time it creates a note.
Set a Default title for notes that use this template, or, if you’d like Scribe to automatically generate the note’s title, keep Let Scribe set note title on. In the General instructions field, you can provide guidance for how Scribe should write—such as defining the tone of voice, level of medical detail, or any phrasing preferences. These instructions help keep your AI-generated notes consistent with your clinical documentation style and practice standards.

Utilizing Templates in Your Notes
You can use templates in two ways:
- While writing a note: Type / to open the list of available templates and select one to insert directly into your note.

- When starting with Scribe: Open Scribe and choose a template before you begin recording. This way, Scribe follows your preferred note format from the start.
You can start Scribe from two locations:
-
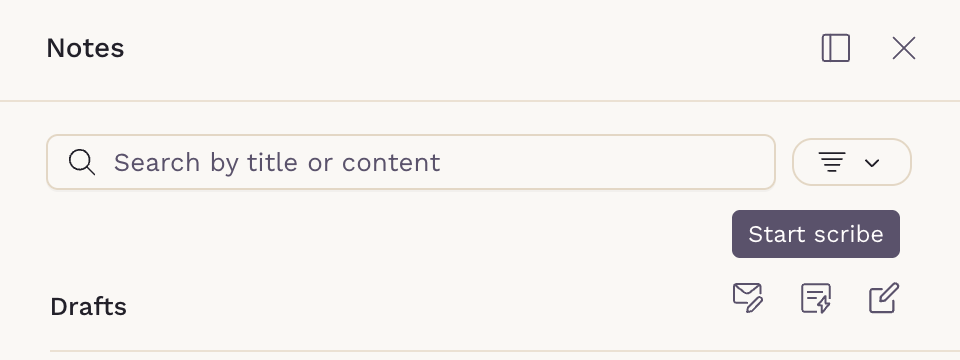
In the Notes tab, click Start scribe to select the template.
-
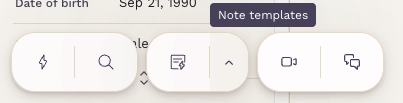
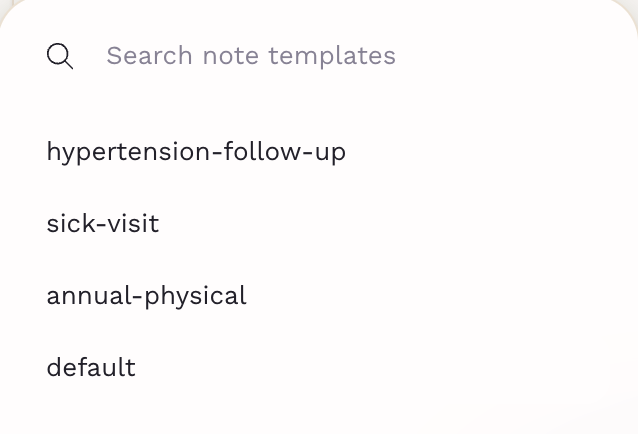
From the patient chart, click Start scribe at the bottom of the screen to select a template. Once you’ve set a default template, Start scribe starts recording with it in one click, and Note templates opens the list so you can pick another one. To set your default, hover over a template in the list and click Set default.
Using templates helps you maintain consistency and save time when documenting patient encounters. Whether you’re writing manually or using Scribe, templates keep your notes in the same structure and tone across the practice.