Patient Intake Form
The Intake form is a fully customizable form available within the Forms feature. It helps practices gather essential clinical, demographic, and administrative information before a patient’s visit.
Practices can edit the Intake form at any time, adding or removing elements, adjusting sections, creating conditional logic, and modifying settings to match their workflow.

The Intake form is also available as a pre-built option in the Template list, allowing you to access the original version even after your practice has customized the form.
Editing the Intake Form
The Intake form is built using the same editor as all Regular Forms. Each section is represented as an element that can be reordered, duplicated, or removed. The right-side panel updates based on the selected element, allowing you to mark fields as required, enable or disable chart integration, and configure conditional visibility when supported.
Patients will see only the sections and questions relevant to them, creating a smooth intake experience while ensuring your practice collects complete and accurate information.
Sections in the Intake Form
Below are the main sections included in the Intake template. All elements can be edited or removed, and new elements can be added at any time.
Personal Information
This section collects the patient’s legal name, middle name, last name, and date of birth. Each field can be shown or hidden, and marked as required based on your practice’s needs.

Contact Information
Patients can provide their primary phone number and email address. These fields can be shown or hidden.

Address
The Address element includes address lines 1 and 2, city, state, and ZIP code. Each field in this section can also be individually shown, hidden, or marked as required.

Identification Document
This section allows patients to upload the front and back of a government-issued ID. Each file upload field supports drag-and-drop uploads and displays size and format guidelines. You may mark uploads as required and add instructions to guide patients.

Demographics
Demographics fields can include sex at birth, gestational age at birth, gender identity, pronouns, sexuality, marital status, ethnicity, blood group, and occupation. This section also includes conditional settings: the Women’s Health elements will only appear if the patient’s Sex at Birth is marked as female or intersex.

Social History
This section collects information about lifestyle factors such as smoking, alcohol use, caffeine intake, recreational drugs, special diets, physical activity, and sexual activity. Many questions use branching fields, for example, “If Yes, details.” Practices can require specific responses or keep them optional based on their workflow.

Medical History
Patients can provide details about existing health conditions, active medications, allergies, vaccines, and prior procedures. Each category includes structured Yes/No questions and optional detail fields. The “Add more” button allows patients to enter multiple items one at a time, supporting cleaner chart documentation.

Family History
This section helps gather information about relatives, including relationship, medical problems, date of birth, life status, and, if deceased, date and cause of death. Patients can add multiple family members using the “Add more” option. All fields can be customized based on practice needs.

Cycle History
The Cycle History section helps clinicians gather details about a patient’s menstrual history. Patients are asked whether they’ve had their first menstrual cycle and, if applicable, can provide the age at which it occurred. Each field can be required, and chart integration can be enabled for structured documentation. This section is often used as a trigger for follow-up GYN History questions through conditional logic.

GYN History
The GYN History section documents menstrual and gynecologic symptoms using structured Yes/No questions with optional follow-up fields. Patients may be asked about menopause, breastfeeding, regular periods, painful periods, PMS, abnormal pap smears, sexual function, and whether they have been pregnant. Each topic includes optional conditional fields, such as date or details, to capture richer context. Practices can enable chart integration for automatic updates to the patient record.

OB History
The OB History section appears only for patients who indicate in the GYN History section that they have been pregnant. It includes fields for full-term pregnancies, preterm births, miscarriages, abortions, and tubal pregnancies.

Specialists
Patients can enter the specialist’s name, specialty, NPI, phone number, fax number, email, website, and address. Additional specialists can be added using the "Add more" option.

Insurance
The Insurance section collects detailed information about a patient’s health insurance coverage. Patients can enter plan name, policy number, group number, contract number, plan type, and claims address. File upload fields allow patients to attach images of their insurance card. The “Add more” button supports multiple insurance plans, and practices can designate a plan as the primary one.

Conditional Sections
The Cycle History, GYN History, and OB History sections are configured to display only when specific requirements are met. These conditions help keep the intake experience streamlined by showing patients only the questions that apply to them.
For example:
- Cycle History appears only if the patient’s sex assigned at birth is marked as female or intersex.
- GYN History appears only if the patient confirms they’ve had their first menstrual cycle.
- OB History appears only if the patient answers “Yes” to “Have you ever been pregnant?”
You can edit conditional rules at any time by opening the three-dot menu next to the section title and selecting Edit. Additional conditions can be added to other sections as needed.


How Conditional Settings Work
Conditional logic uses two parts:
- Condition: the element or field that controls whether the section should appear (such as a Yes/No question, Demographics, or Social History).
- Answer: the value that triggers the section to display. For Demographics, this references a specific field and response, for example, Sex at Birth → Female.
Together, these settings ensure patients only see the sections that apply to them, keeping the intake experience focused and efficient.
Integrate With Chart
The Integrate With Chart toggle is available for all Health Resource elements, including Demographics, Social History, Medical History, Family History, Cycle History, GYN History, OB History, Specialists, and Insurance.

To make the submitted information eligible for chart integration, this toggle must be turned on. When enabled, all responses collected through that element can be added directly to the patient’s chart.
Once the patient submits the form, the information appears in the Forms screen under Entry Review tab.

If a form entry is still pending review, a card will be added to the Overview tab and will remain there until the entry is reviewed or dismissed. Each pending form generates its own card, making it easy to track outstanding items.

A card is also added to other areas of the patient chart, such as Problems, Medications, Allergies, Vaccines, and Procedures, when any information in those categories is pending review from a submitted form.

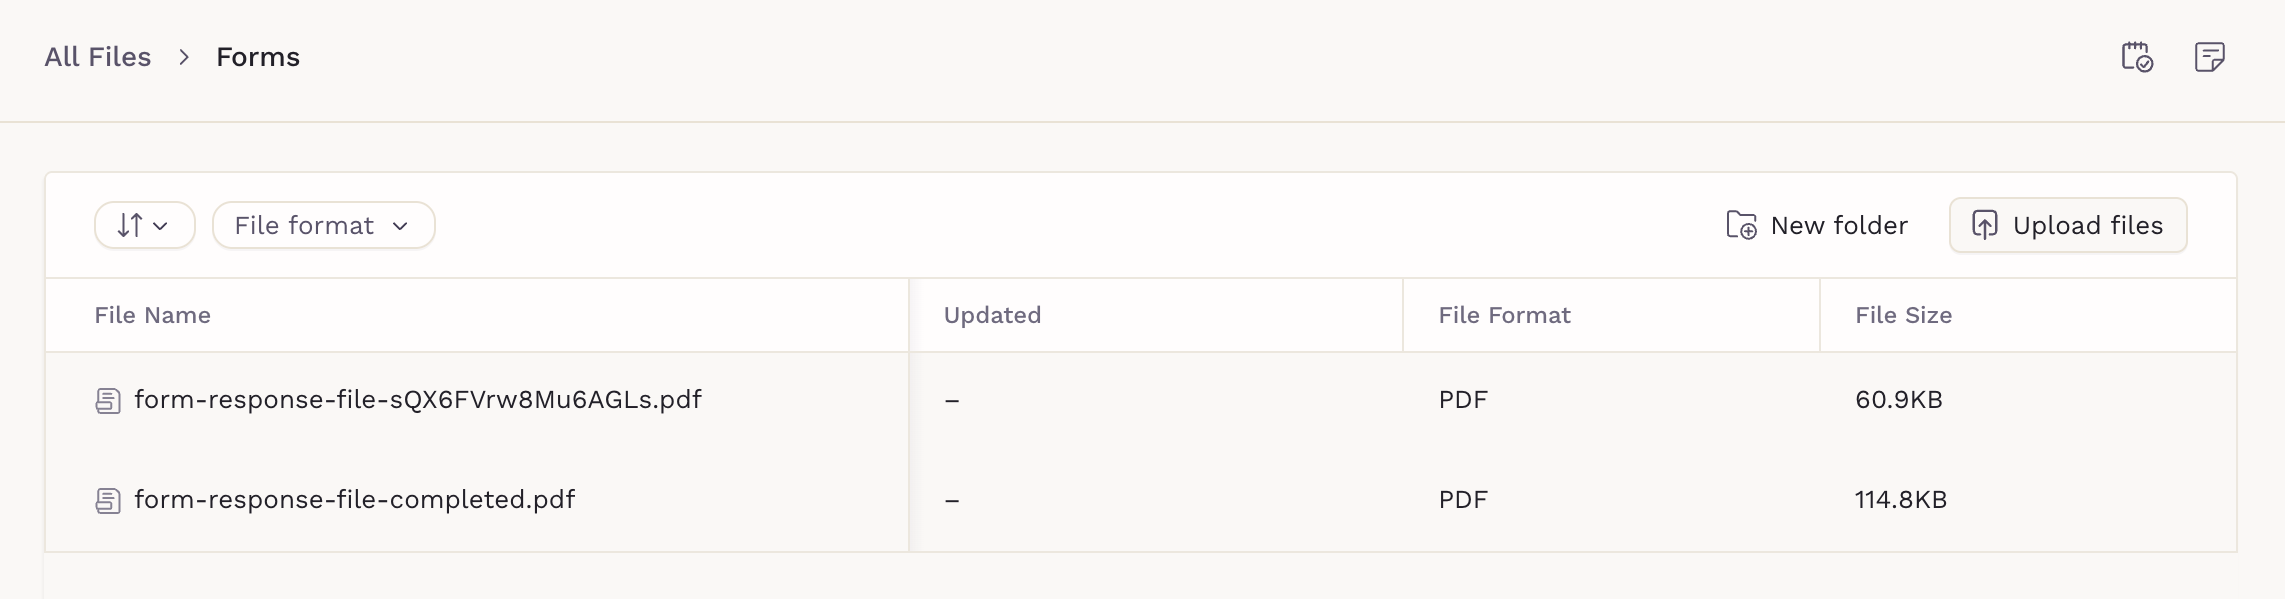
Where patient-uploaded files are saved
Any files uploaded by patients are automatically stored in the Patient Files. These files are organized under the Forms folder, making it easy to find documents submitted through intake forms or questionnaires without manually sorting or moving them.